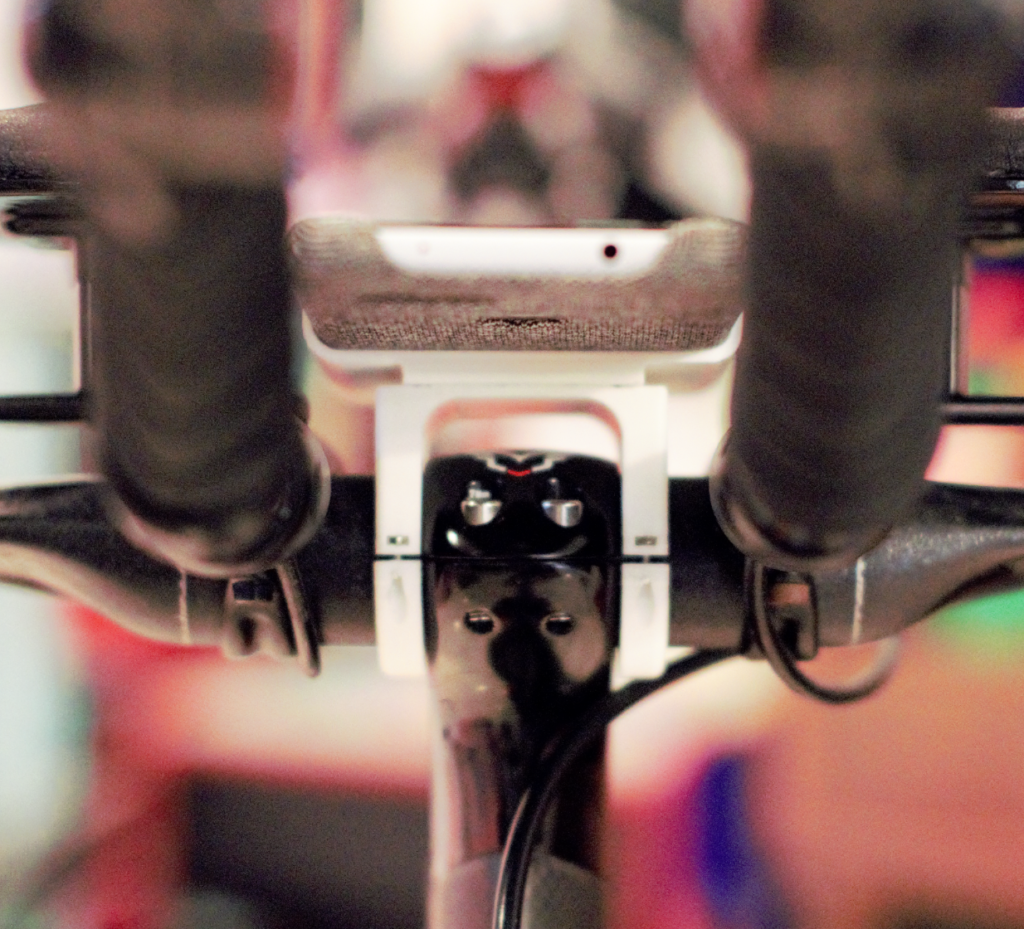
I spend hours and hours on my bike. I needed an aerodynamic custom phone mount designed specifically for my phone/bike setup. This is my first multi-part assembly in Solidworks. So satisfying!

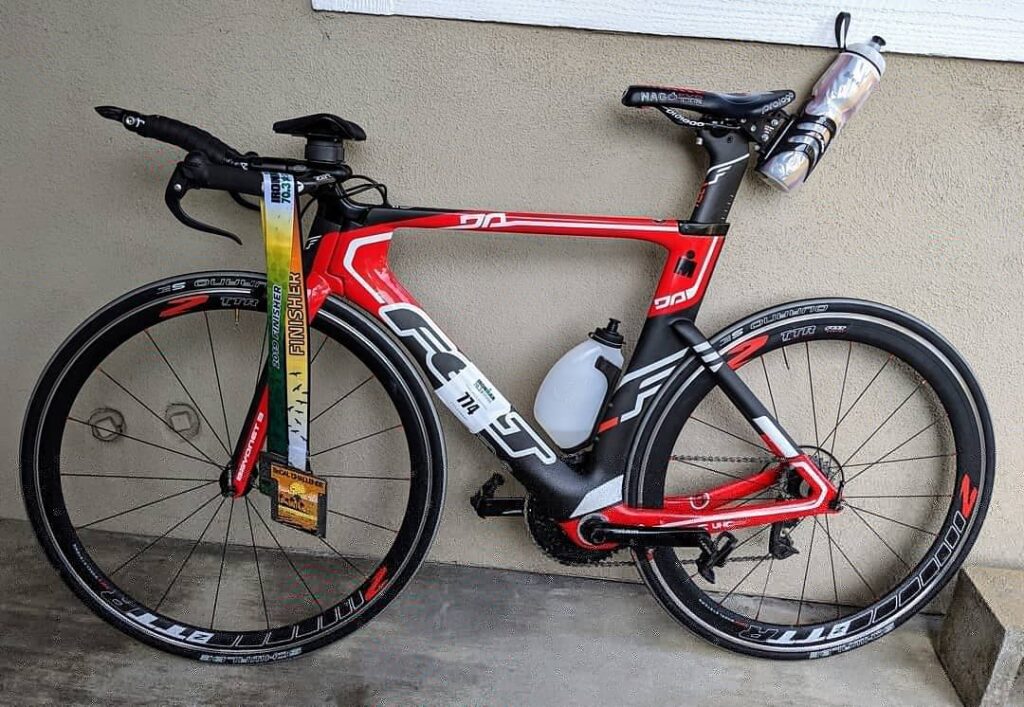
Before I begin, let’s stop and take a look at this beautiful bike. It’s not as high end as some of the $15k+ bikes out there, but it’s gotten me through many Ironman races.
The Tools
- 3D printer
- digital caliper
The Materials
- M2 screws and nuts of varying length
- PLA filament
The Design

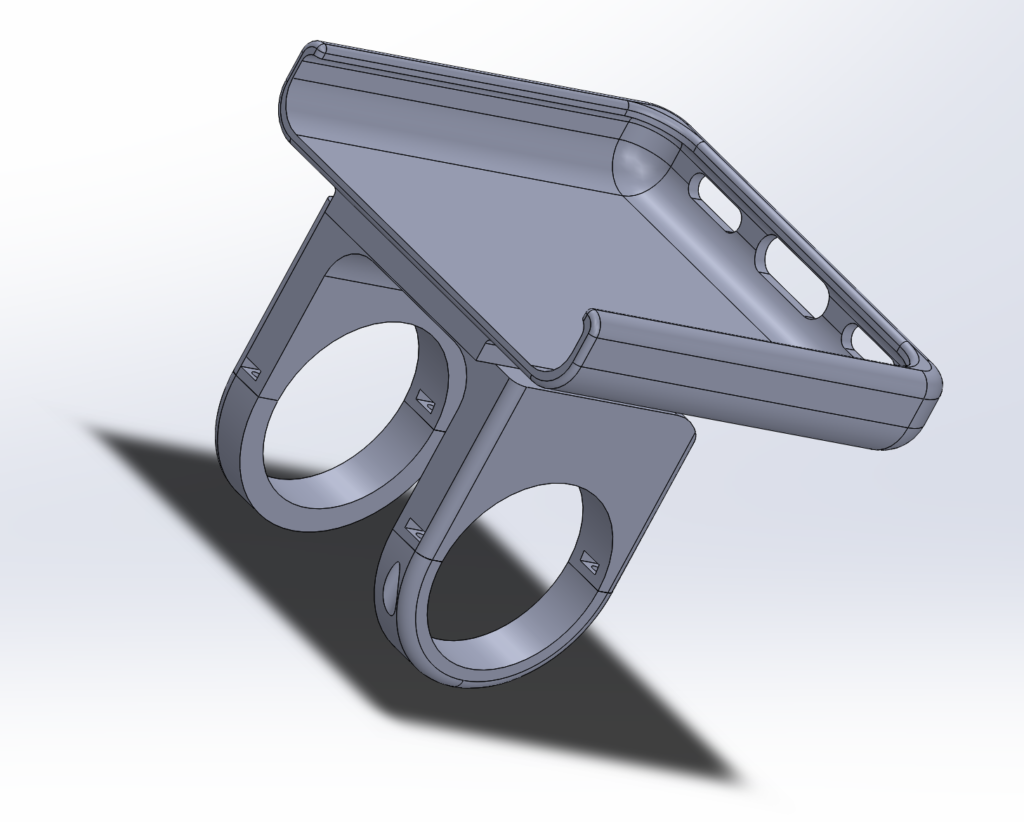
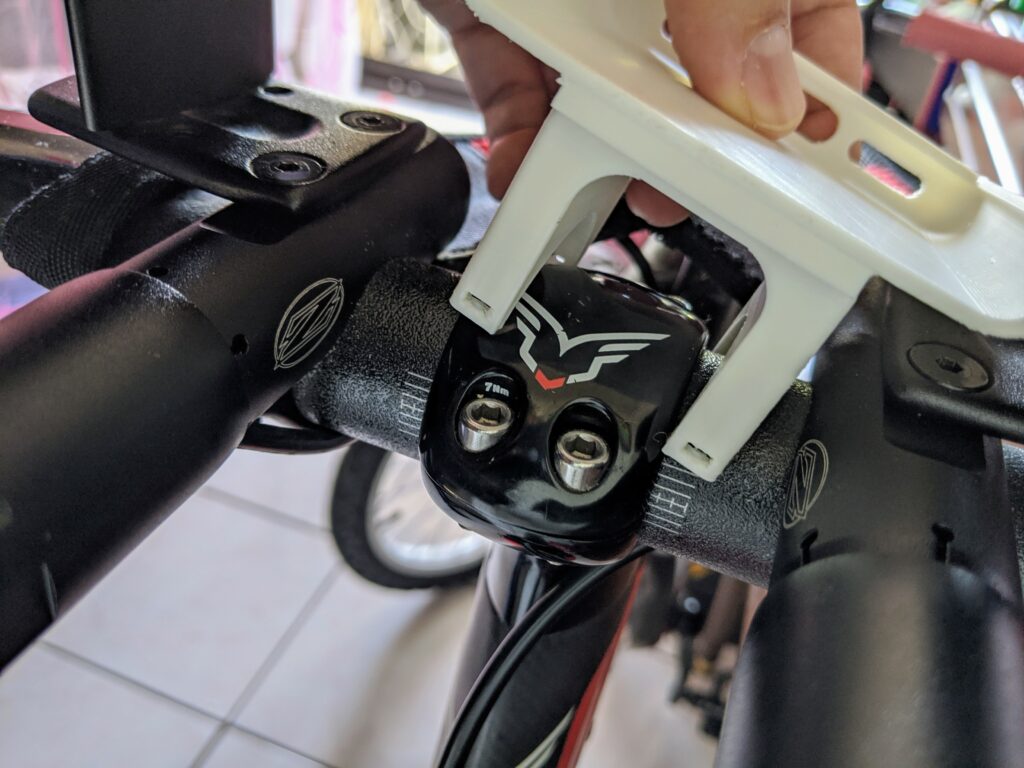
I measured the diameter of my aero bars and also the distance between the stem where it would be mounted. I decided on a 3 part assembly to make it easier to print. The pieces of the assembly where designed to be held together with M2 screws/bolts.
The Build

Always used variable names in Solidworks, but also give them meaningful names so you don’t end up using the wrong measurement for the mount gap width here to account for the stem.

After re-printing the design, I pushed in the hex nuts into the slots I designed and screwed bottom mount together. The 3D printer needs a good amount of tolerance for a good fit. I used 2mm for these M2 screws but the fitting was too tight.
Me:rides bike while watches phone and crashes to make a huge bOoM that never existed or exists*
Me: whOOpS!